
HOME WELCOME SEVEN ELAN ELISE MIDGET TYPE R MINI FAMILY GUEST BOOK
Carbon upgrade Engine upgrade Other upgrades Rear brakes 2004-2006 upgrades Accident rebuild pages Refurb 2014-15
Refurb during 2014-2015
I started a refurbishment of the body during 2013 but didn't do much other than remove the wings. Then in 2014 I removed the engine to fit a new concentric clutch slave cylinder along with the 1/2" clutch master cylinder. This also enabled me to spray the body without the exhaust in the way. I collected 2 pack clear lacquer from a member of the WSCC who has a body shop in May 2013. I couldn't do much during 2014 due to my damaged back but started again in October 2014. Here are some pictures.
10th October and feeling a bit better. So yesterday I changed the cam belt and removed the exhaust pipes on the BDR. I also removed one of the distance pieces from the new clutch slave cylinder as the release bearing would have been pushing on the fingers of the clutch. Today I took one of the pipes to the tractor workshop and he has welded the split properly. I tried it with my MIG but just made it worse. It's stainless steel. I then painted the 3 pipes with ultra high temperature paint (black) and then made 4 nuts for the difficult ones to get a socket on. Each pipe has 4 studs and its the front top one that's difficult because the pipe rises (to go through the bonnet) and gets in the way of the nut. I'll take some more pictures tomorrow when I've finished painting and have it all reassembled,
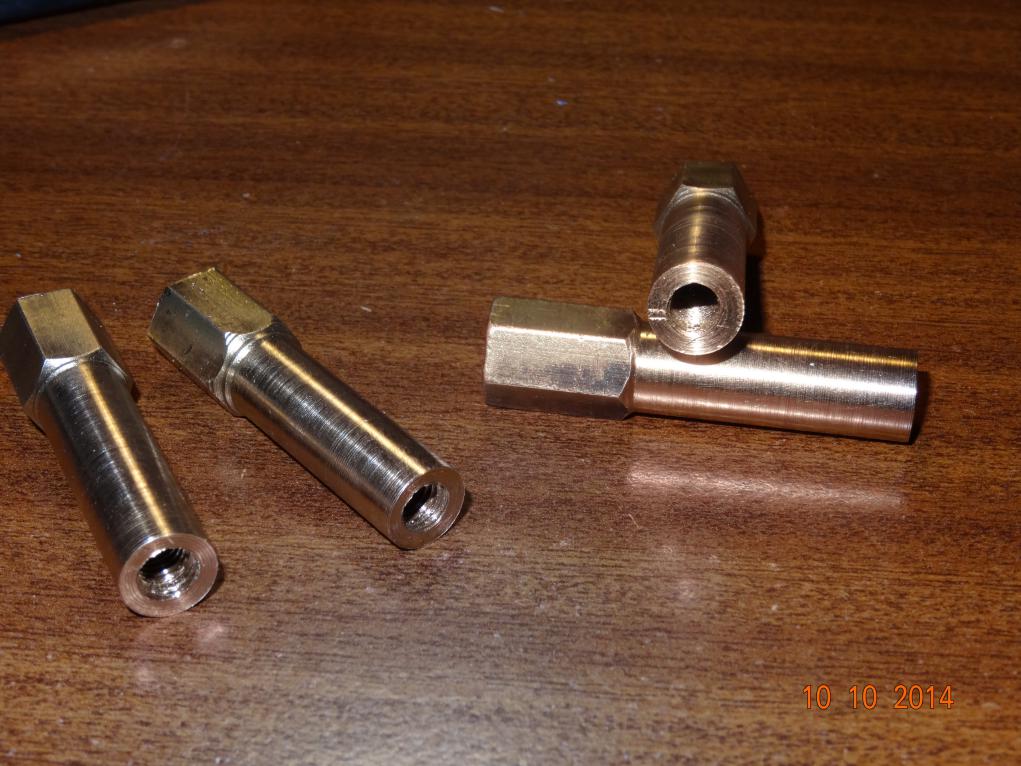
So this is one of the nuts in use.
.jpeg)
And this is how buried they are.
.jpeg)
Pipes drying on the line, just like washing.
.jpeg)
.jpeg)
Amazing how you always miss the important parts.....
.jpeg)
....And then how you run out of paint just before you've finished!
.jpeg)
Never mind, I'll try and get another tin, but not really hopeful over here.
This afternoon I'll have a go at changing the split steering rack boot. As long as I don't need to lay on the floor and I don't have to strain my back it should be OK.
1st November (2014), Thought I'd take some pictures of the car as it is now. It's been like this since May, before my back disintegrated.
.jpeg)
This is waiting for a final rub down with wet and dry and then spraying with a clear lacquer,
.jpeg)
So is this side.
.jpeg)
The engine's out so as to fit the new centrifugal clutch slave cylinder. It will make spraying the left hand side easier and I painted the exhaust whilst it is out.
.jpeg)
Like this. Isn't it nice.
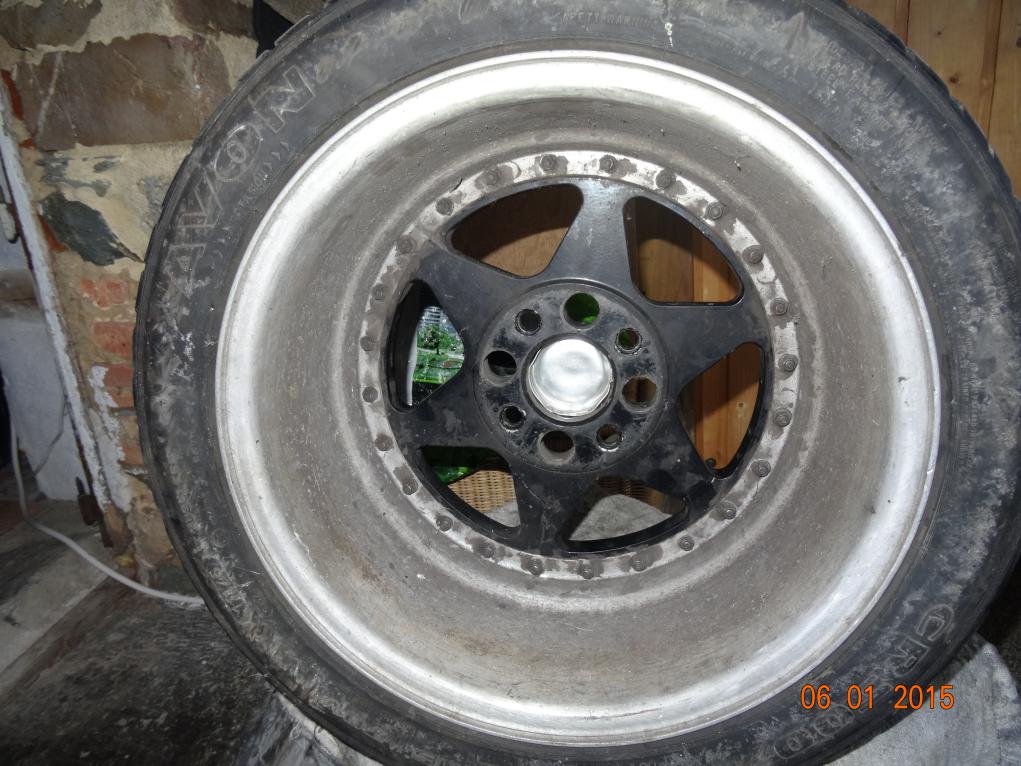
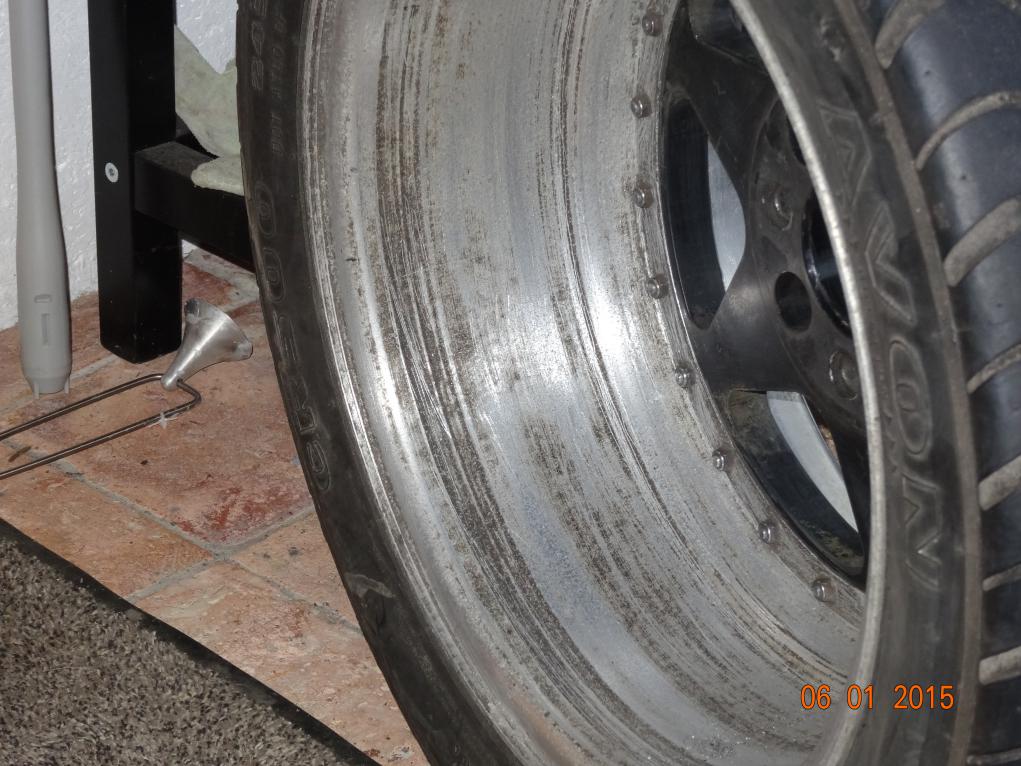
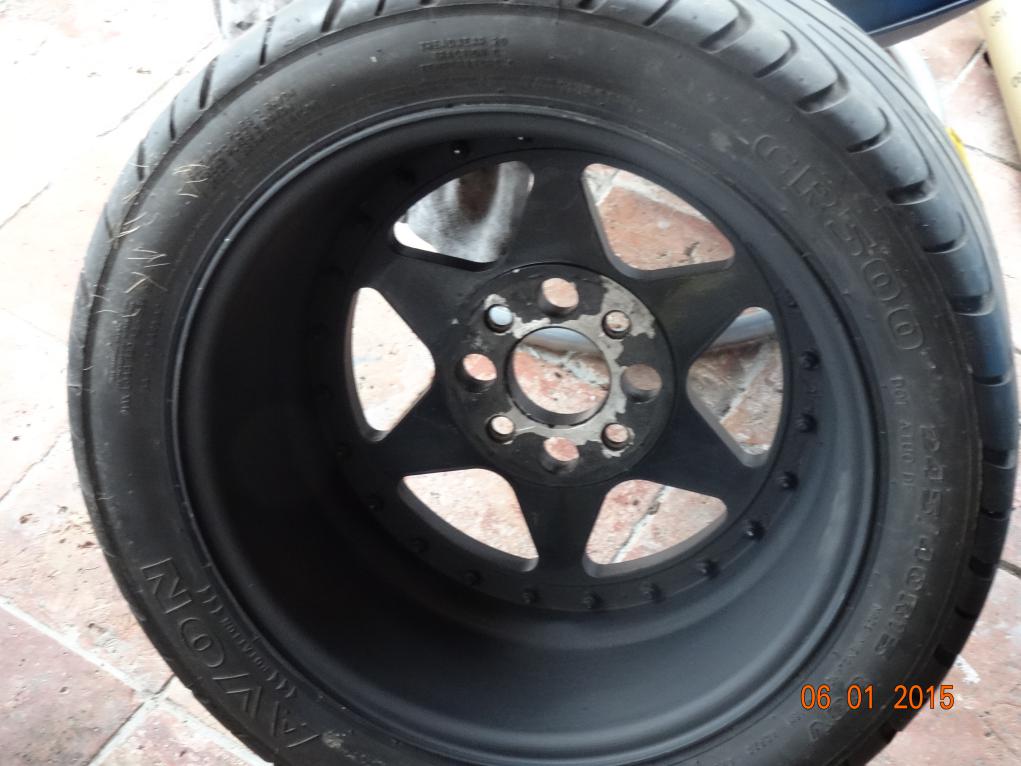
This the inside of one of the front wheel, which weren't that bad. The rears were much worse.
The inside after cleaning (wire wool and wet and dry)
The outside of a front wheel before painting (after cleaning)
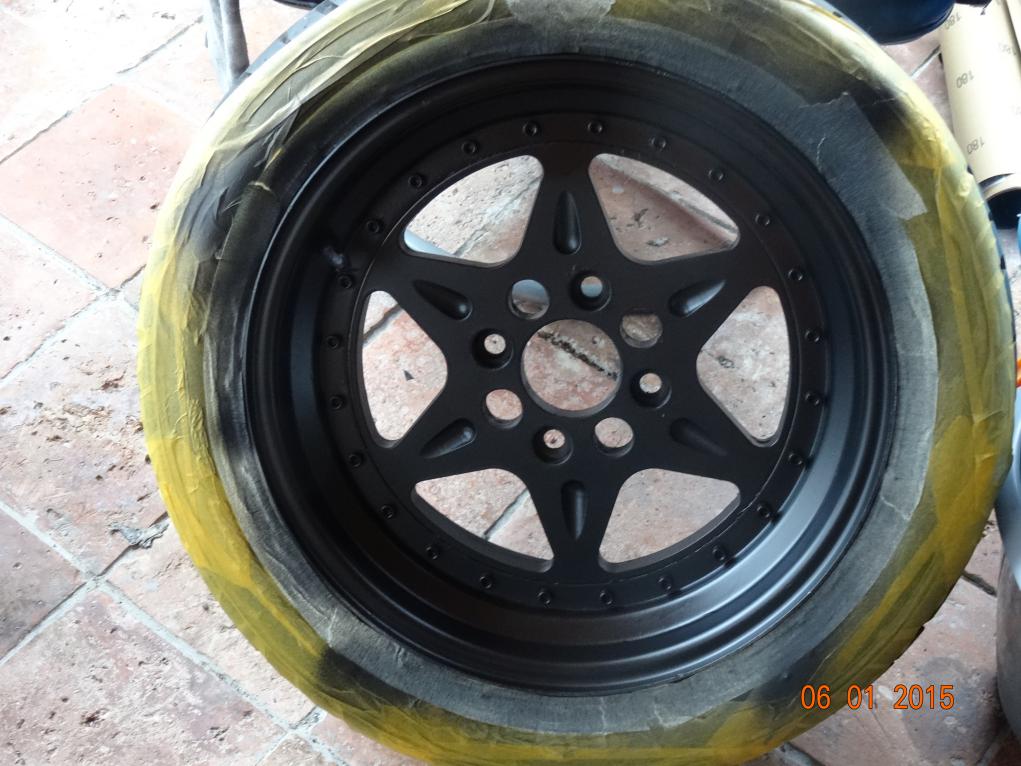
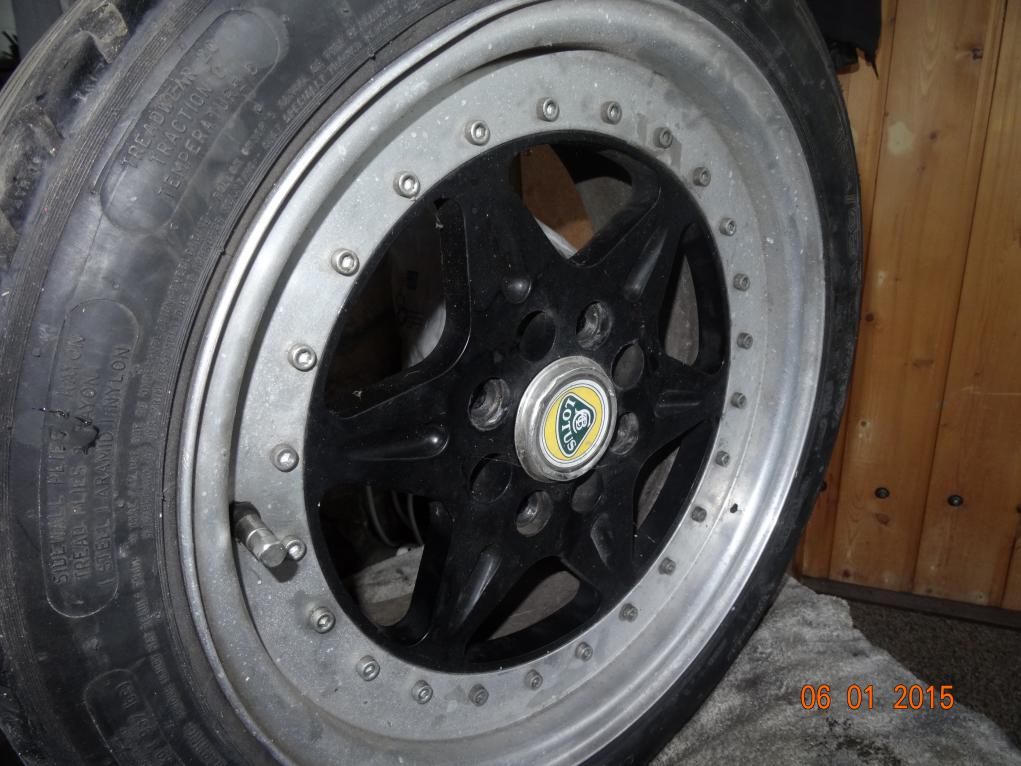
Pictures of the finished wheels. (some were given another coat)
.jpeg)
Oops, this is how a tin of spray paint goes when left outside on a frosty night.
.jpeg)
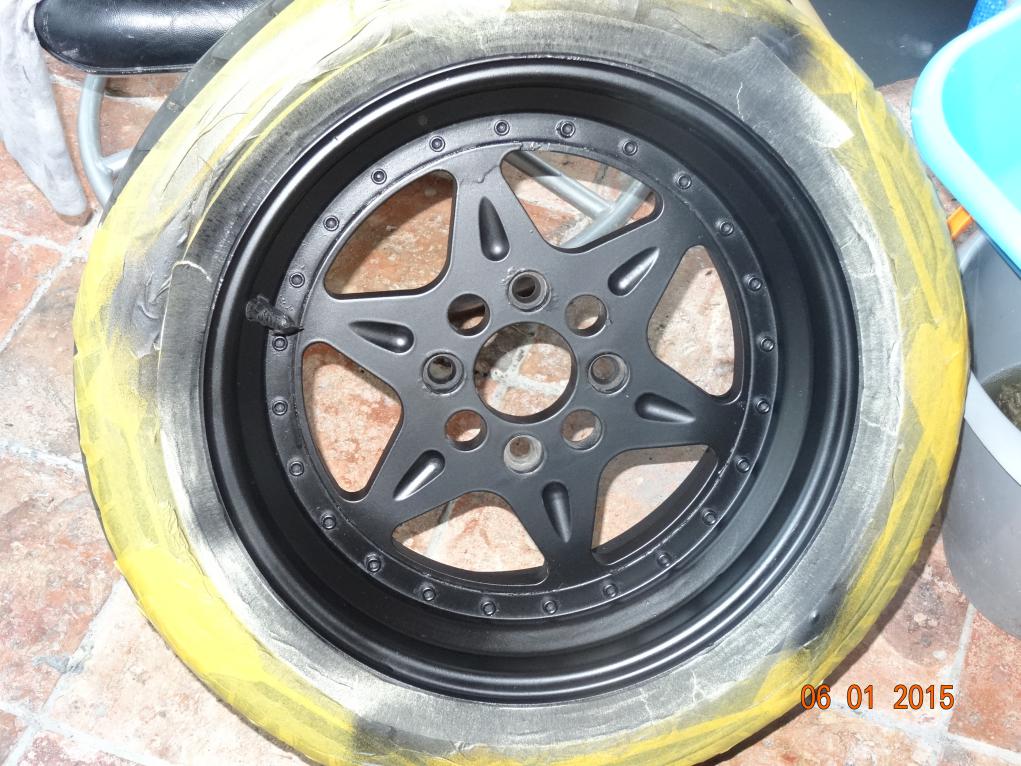
More finished wheels-after more coats of paint.
.jpeg)
.jpeg)
More bubbling paint, I painted it 3 times before getting a new tin.
.jpeg)
.jpeg)
The right hand boot lid panel with clamps holding the edges on, stuck on with epoxy resin. The edges were cut from an old bonnet. Didn't work too well as one fell off when the clamp was removed.
.jpeg)
Now clamped using super glue.
.jpeg)
The front end of the silencer with a new coat of high temperature paint.
.jpeg)
The dash after rubbing down to bare carbon fibre. The new digital GPS speedo is fitted as that will need a coat of lacquer.
.jpeg)
The rear wings with the edges painted in silver. It's a bit darker than shown in the picture which is under 2000 watts of halogen lights.
.jpeg)
A pair of Kevlar carbon seats. The Kevlar has been rubbed down, the rest of the seat is covered in a carpet material (to stop the person sitting in the seat from sliding in the corners)
.jpeg)
Wheels-all lined up.