HOME BOOKING THE BLAT HERE THE PROPERTY OUR BLATS ATTRACTIONS THE GITES LIFE AT LA FOIE CONTACTS EDITORIAL "BIT OF DAFT"
The buildings The barn conversion The house renovation The Porch Roof and Rockery Pictures La Foie 1978 Life at La Foie 2005-2013
July-Aug 2014 Sept-Dec 2014 Jan-Mar 2015 Apr-Jun 2015 Retromobile 2014 UK Trip 2014
The French Blatting Company
![]()
Life at La Foie
September-December 2014
This is how much mist we get. This is at 0800 on Saturday 27th September 2014. It was clear by 0900. It is in the field next to us. Our fields are never this misty.
.jpeg)
10th October and feeling a bit better. So yesterday I changed the cam belt and removed the exhaust pipes on the BDR. I also removed one of the distance pieces from the new clutch slave cylinder as the release bearing would have been pushing on the fingers of the clutch. Today I took one of the pipes to the tractor workshop and he has welded the split properly. I tried it with my MIG but just made it worse. It's stainless steel. I then painted the 3 pipes with ultra high temperature paint (black) and then made 4 nuts for the difficult ones to get a socket on. Each pipe has 4 studs and its the front top one that's difficult because the pipe rises (to go through the bonnet) and gets in the way of the nut. I'll take some more pictures tomorrow when I've finished painting and have it all reassembled,
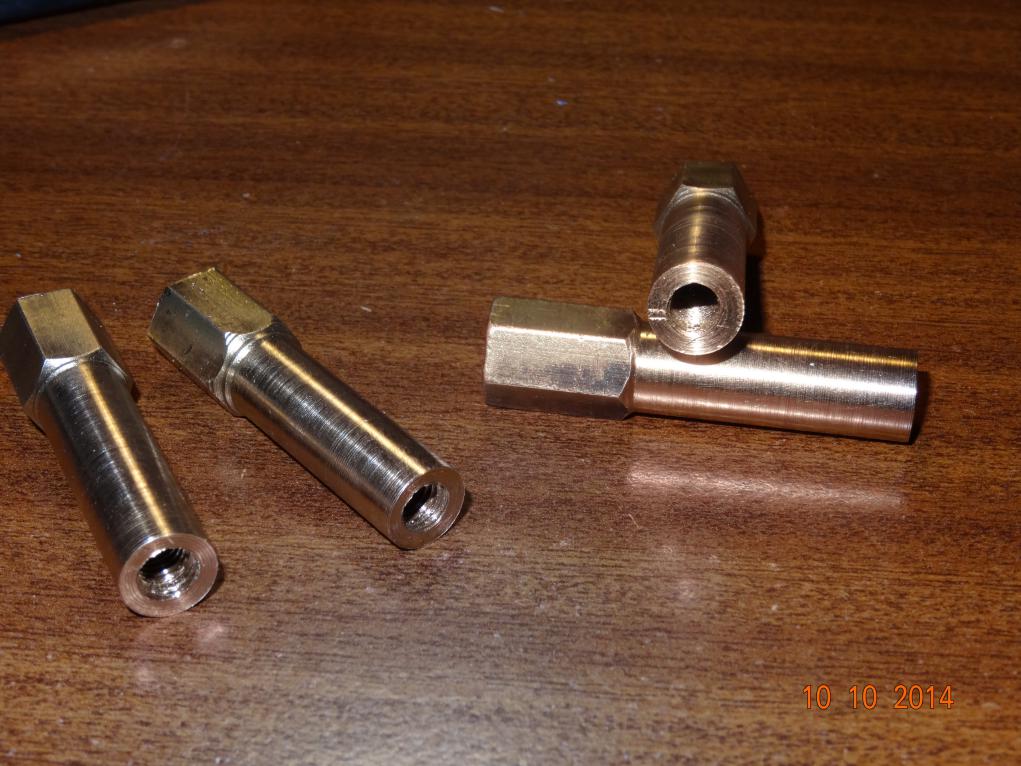
So this is one of the nuts in use.
.jpeg)
And this is how buried they are.
.jpeg)
Pipes drying on the line, just like washing.
.jpeg)
.jpeg)
Amazing how you always miss the important parts.....
.jpeg)
....And then how you run out of paint just before you've finished!
.jpeg)
Never mind, I'll try and get another tin, but not really hopeful over here.
This afternoon I'll have a go at changing the split steering rack boot. As long as I don't need to lay on the floor and I don't have to strain my back it should be OK.
1st November (2014), Thought I'd take some pictures of the car as it is now. It's been like this since May, before my back disintegrated.
.jpeg)
This is waiting for a final rub down with wet and dry and then spraying with a clear lacquer,
.jpeg)
So is this side.
.jpeg)
The engine's out so as to fit the new centrifugal clutch slave cylinder. It will make spraying the left hand side easier and I painted the exhaust whilst it is out.
.jpeg)
Like this. Isn't it nice.
On Friday 7th November, Wayne and his mate and his lad came round and fitted the new fire. What do think?
.jpeg)
We are fitting 3 double glazed windows over the existing, old, character full windows. The object is to stop the heat loss through the old single glazed windows. This is how far we've got in two days, Sunday 9th and Monday 10th November (2014). We should finish these two tomorrow, we're out on Wednesday so the last one (small and easy) should get fitted on Thursday.
.jpeg)
This one is finished other than to refit the two window leaves. Not easy when you've been forbidden to lift anything.
.jpg)
The frame's in but I need to cut a bit off each end of the sill as it's wider than the window aperture. We're using a car jack and two axle stands to get this one in position. Then I have to fit a frame at the bottom to support the ply panel which will be the sill.
It's now 17:45 on Tuesday 11th November. All windows now fitted.
.jpeg)
.jpeg)
.jpeg)
This one, in the lounge, was the easiest to fit. The sill is sitting on the window ledge. I screwed a 50mm x 50mm batten to the underside of the lintel and the window is screwed to the batten. Took about an hour, hardest part was lifting it into place.
We're out tomorrow so on Thursday I will refit the blinds and seal the windows. The lounge window will need expanding foam as there is a 2 cm gap down the sides. The others, apart from a few areas are just a mastic sealing job.
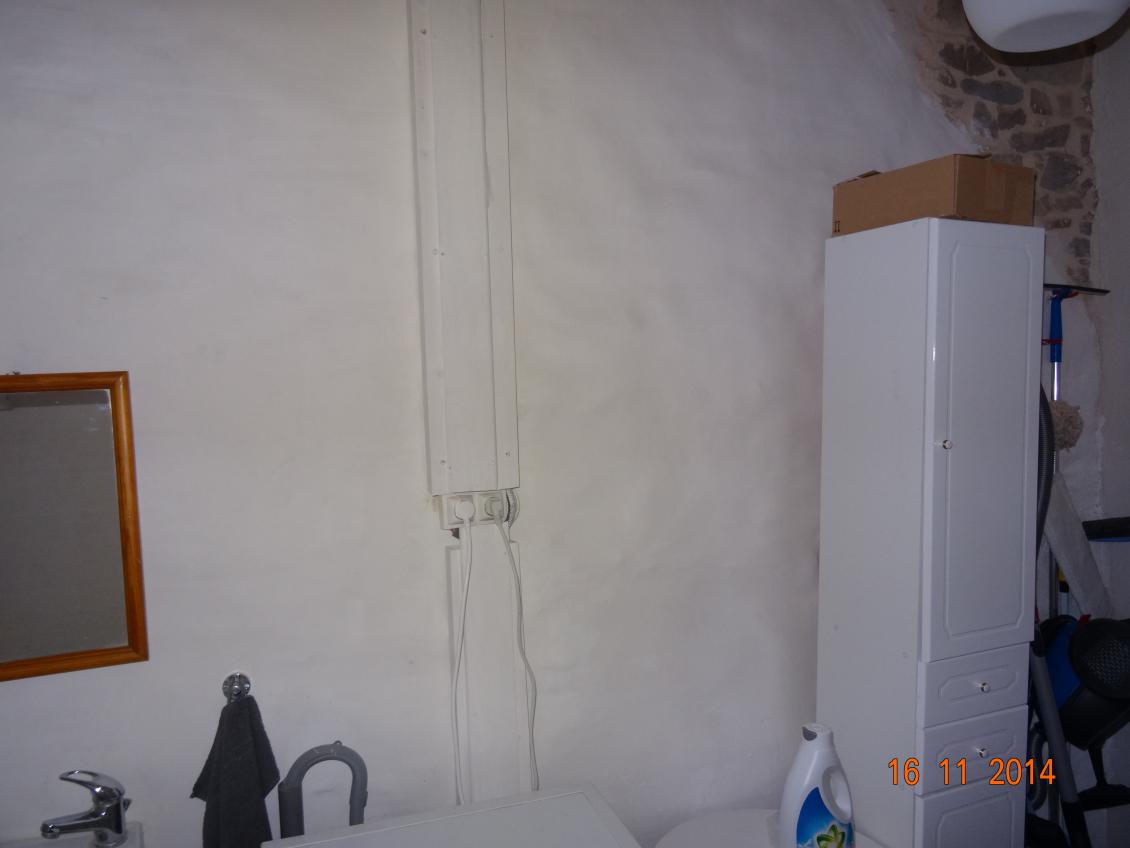
Finally I did a little job that I've been threatening to do for three years.... box in the wires in the utility room.
.jpeg)
We'll paint the room on Thursday/Friday.
Weekend now and all painted.
So I had to 2.4 metres of 50 mm x 50 mm battens left. I also have a pack of 6 oak floorboards 1.84 x 19 mm each.
.jpeg)
.jpeg)
Just need to get 4 legs and treat it with stuff and we have a new patio table.
Got 4 legs and 4 plates to hold the legs to the table.
.jpeg)
The completed table.
.jpeg)
The plates, which were not thick enough and the table wobbled. So I bought a metre length of mild steel 8 mm thick, 40 mm wide and made 4 new plates.
.jpeg)
Probably be better holding up London Bridge.
Lynne likes it so much that she wanted it in the kitchen. However it's a tad too high so it's going outside, which is where is is supposed to be. However, for now it can stay in my room.
20th November 2014. Oh well, I just can't say no. What do you do when the table is 60 mm too high.......
.jpeg)
... cut 60 mm of each leg.
.jpeg)
.jpeg)
And it's now in the kitchen.
And the original table is....
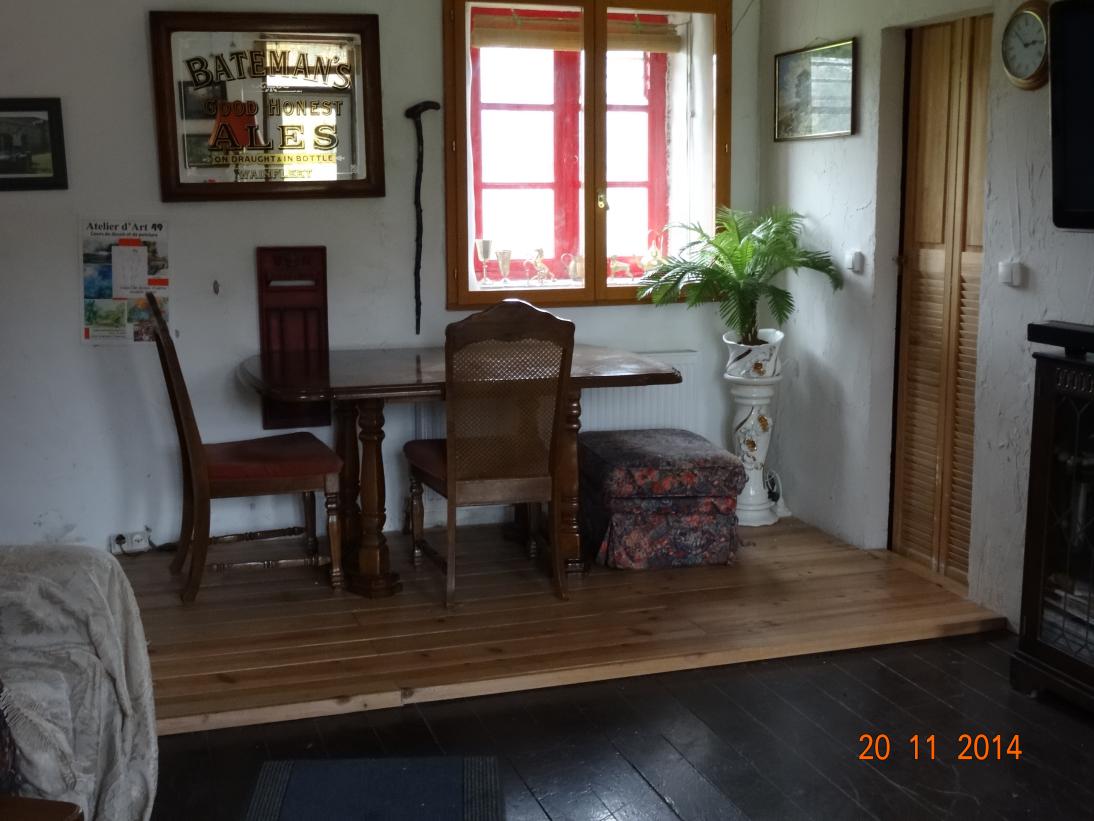
Is now in my room.
I've now been informed that my next project is a bird table.
My Grandpappy taught me to never throw stuff away as it may come in useful one day. So I rummaged around the garage, the barn, the old house and found enough rubbish to build this:
.jpeg)
.jpeg)
I know it's a bit pi.... er not straight. I'll have to consult with the person who was supposed to be holding the top leg straight as I screwed it in. I'll straighten it tomorrow. Cost to this point was zero, but we then had to buy some cup hooks to hold the bird feed bags. So total cost 49 cents.
On Tuesday 25th November 2014, we went to a DIY shop in Chateaubriant and bought a new pane of glass for the broken window (only been cracked for 3 years) and 6 20 x 10 cm glass shelves along with 12 shelf brackets. I have now fitted these.
.jpg)
My Mini Cooper S is not supposed to go through the rollover car wash as the top brush can rip the spoiler off. My answer to this problem:
.jpeg)
We have 3 little bronze figures which are really black with dirt. I was going to glass bead blast them but then thought, what's the best cleaner known to man? So they're soaking in Coca Cola.
Before:
.jpeg)
After:
.jpeg)
13th December 2014.
Lynne was getting a bit upset. Why? Because she hadn't seen any birds feeding from her bird table. It's OK now......
.jpeg)
.jpeg)
.... there you go! a full up bird.
In the meantime, I've been doing some bits on the car. The dry sump system had an oil cooler and thermostat fitted. The pipes were braided rubber and some sort of poly something or other. I wasn't happy about the pipes and the cooler and thermostat aren't needed with a dry sump. So I have plumbed in some fixed copper pipe.
.jpeg)
The tank end.
.jpeg)
Across the front. I had to fit a flexible centre as the complete pipe couldn't be got in.
.jpeg)
The pump end. I've measured the position of the pipes by using the coil HT lead and the engine mounting chassis bolts holes as datum points. Bet at least one will be in the wrong position.
I've also found enough bits (never throw anything away) to make a flat lensed amber lamp with a 380 bulb (5w side and 21w brake with both wired in as one) and fitted it to the top of the scuttle. This is the new oil pressure warning lamp. The existing warning lamp in the dash will be wired to the fan override switch so it can warn of high water temperature.
24th December 2014.
Probably the last update this year. About two years ago I started work to spray the Caterham with a two pack lacquer. However due to my back I didn't do much work in 2014. The car was up on stands with the engine out, wings off just waiting to be rubbed down and sprayed. Earlier this month I started to prepare the car and the first coat of lacquer went on 19th December.
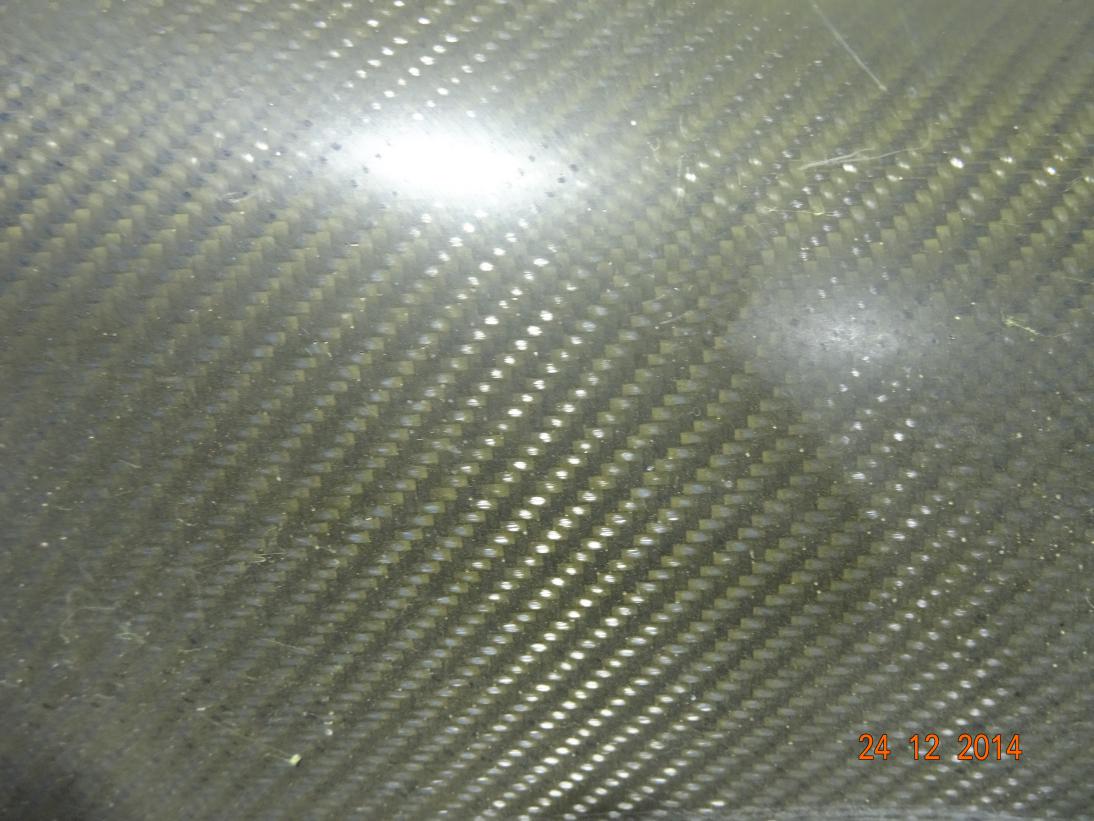
This is the panels, made from carbon fibre, before being sprayed. They got like this due to the resin being "eaten" by sunlight aka Ultra Violet light.
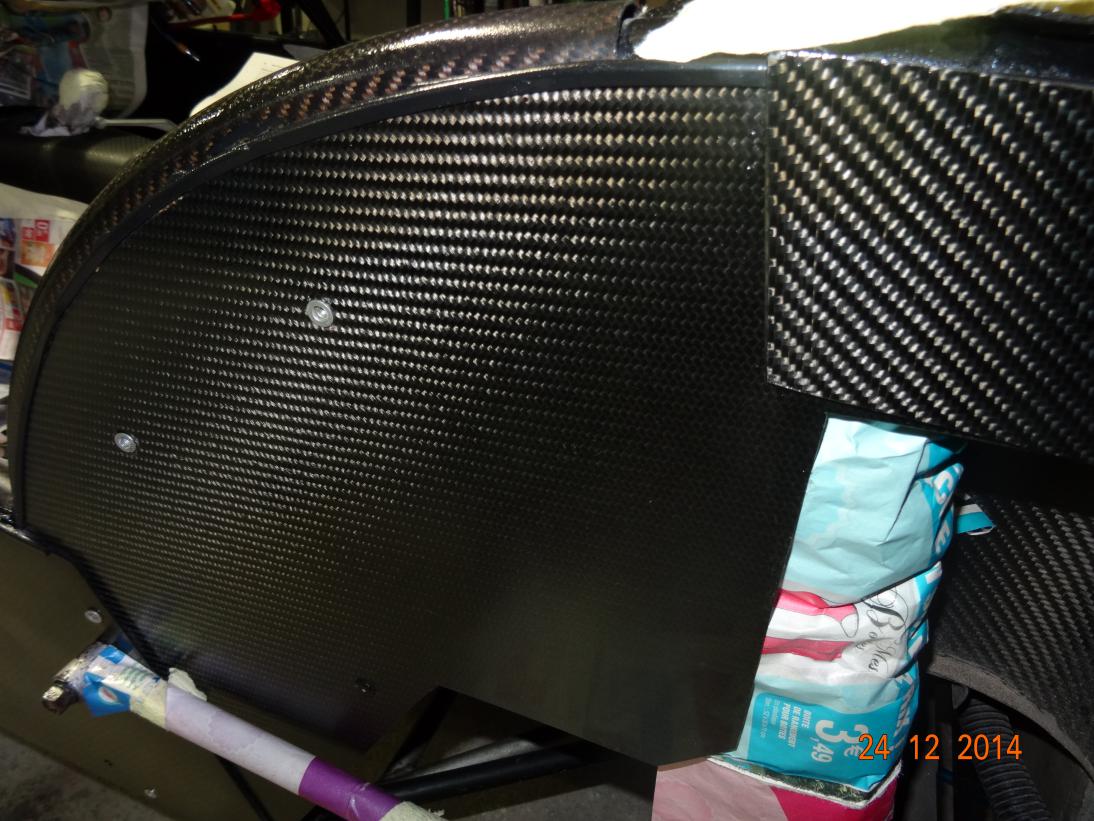
And this is a panel after the first coat of lacquer. I plan to give it three coats, rubbing down with 2000 grade wet and dry between coats. The final job will be to polish with G3.
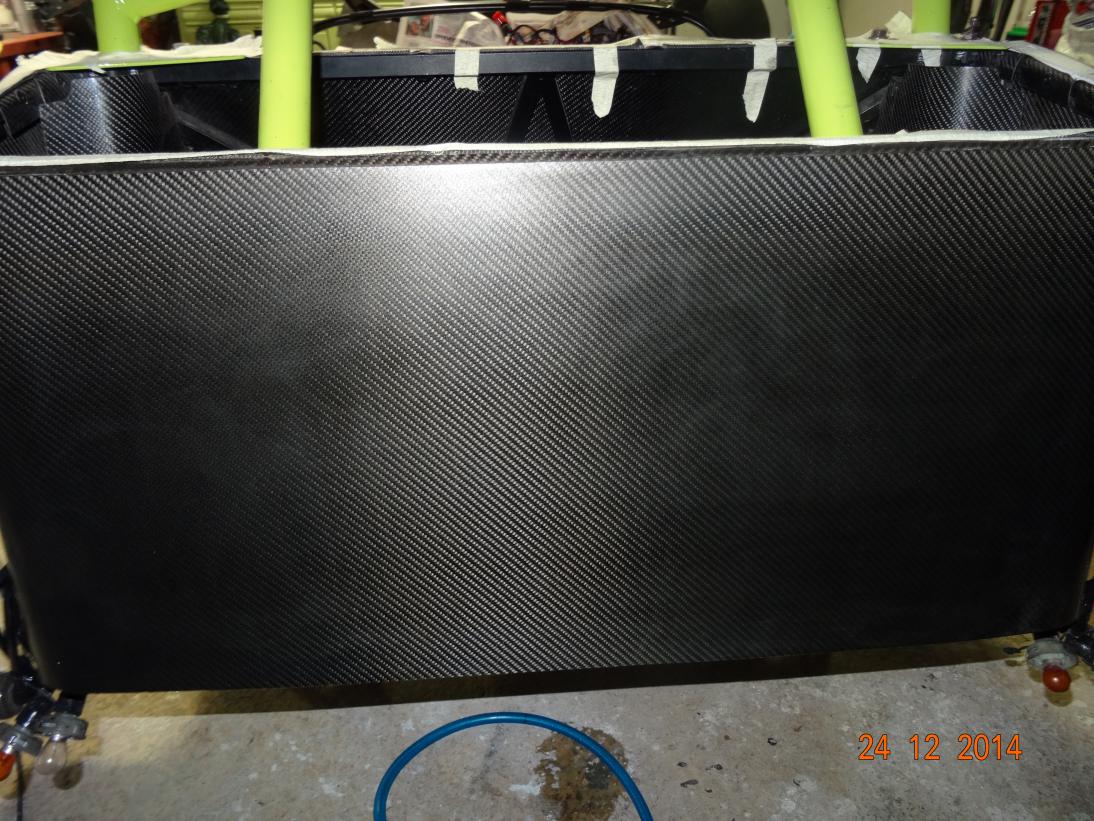
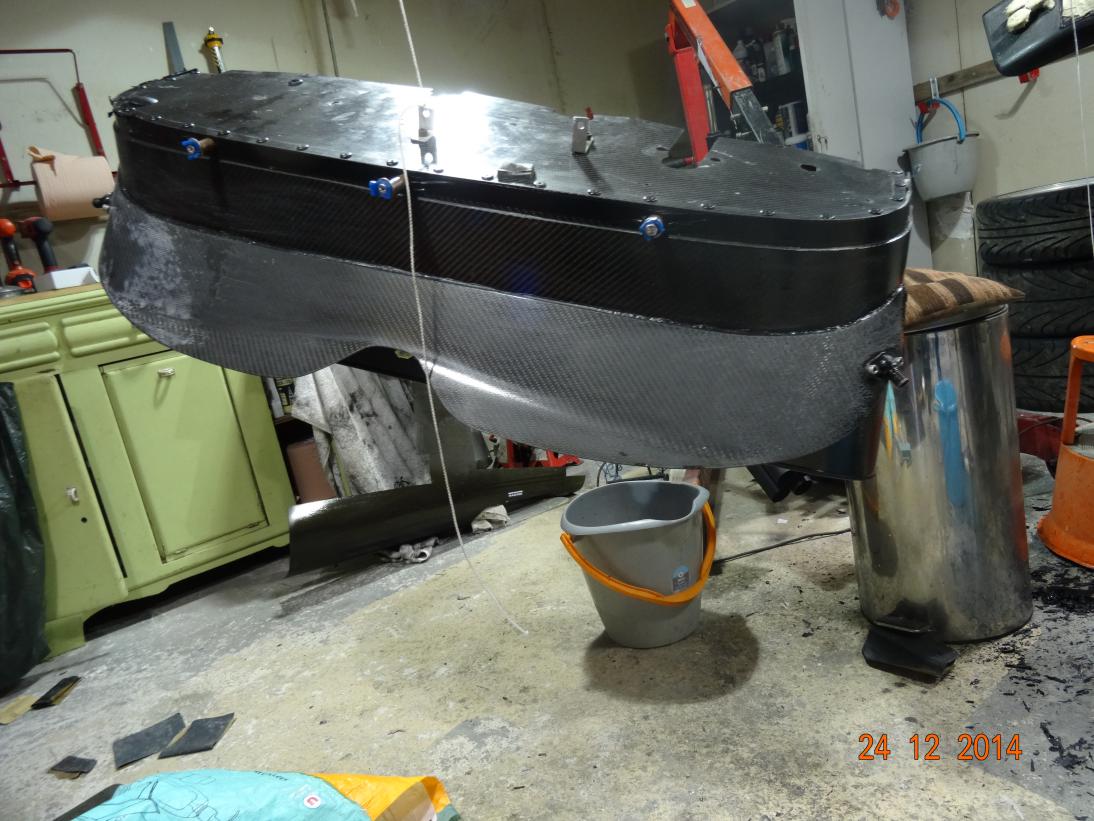
The rear panel.
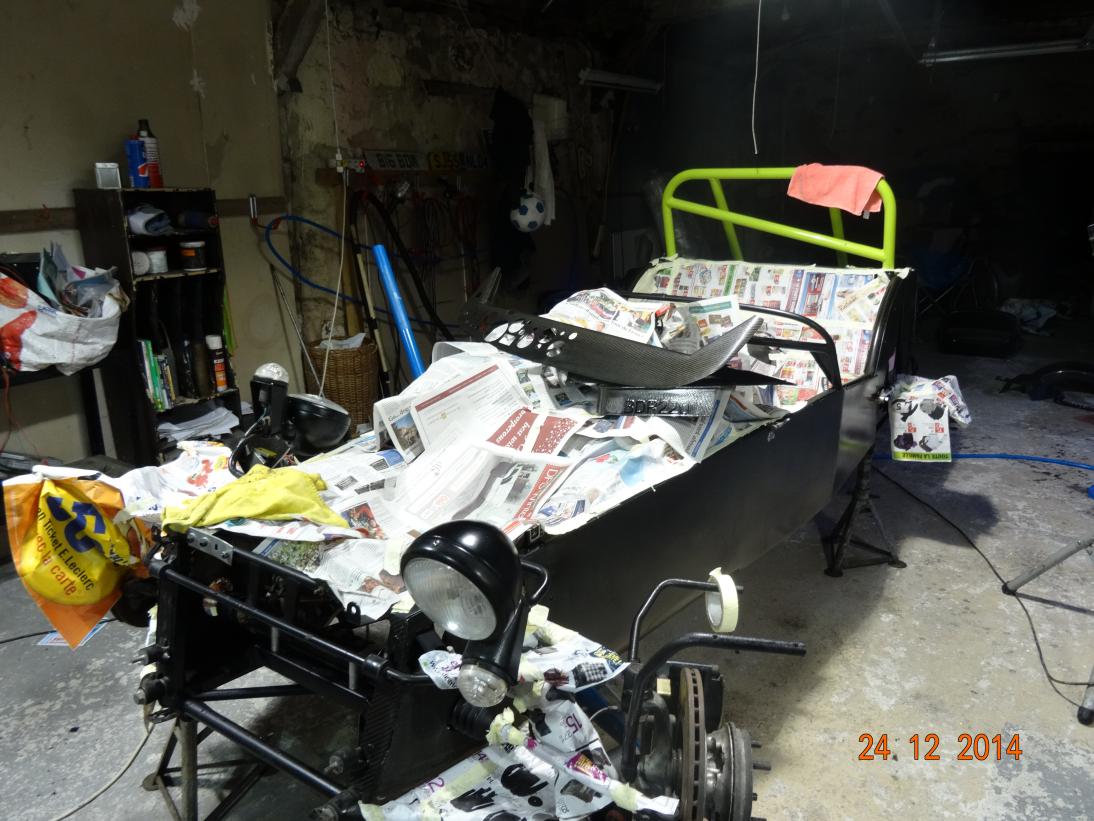
Car, engineless, wingless and masked up.
The bulk head. The spray went a bit wrong as I had the gun too close. I'll get it all off and do it again.
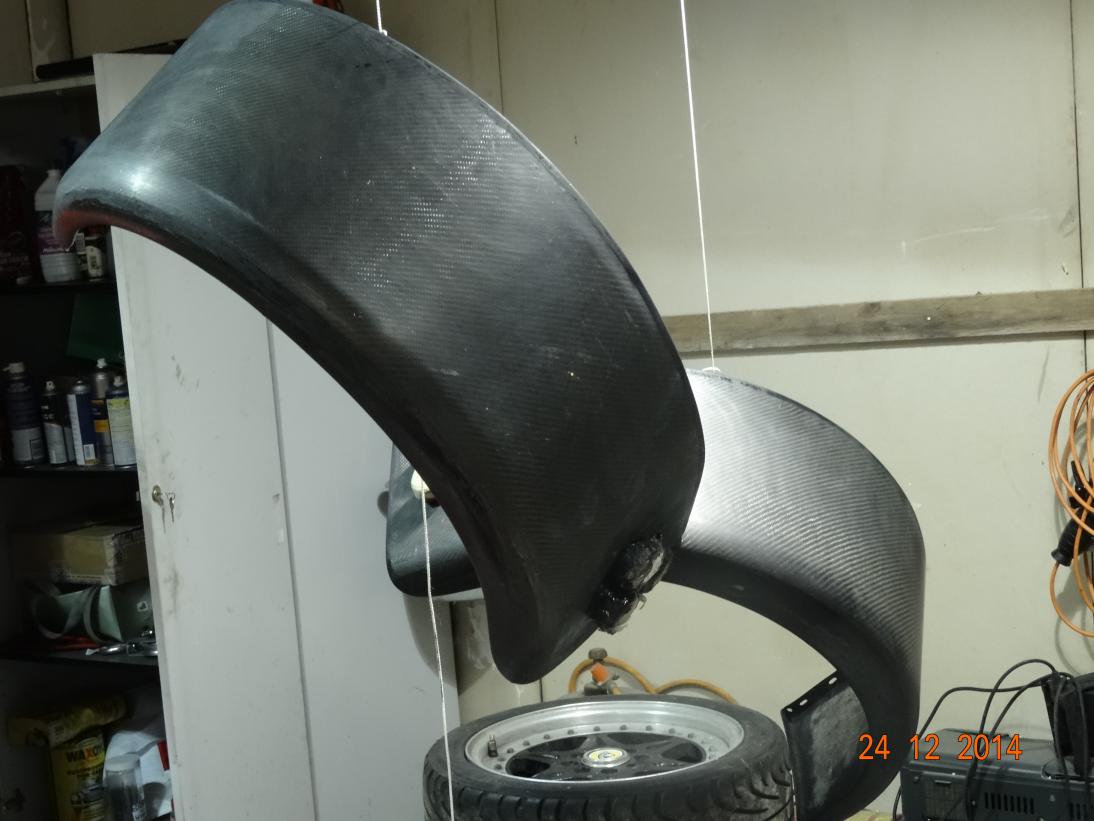
The rear wings. I had painted these matt black but it looked so bad after the first coat I spent 2 days getting it all off. I'll rub them down again and spray.
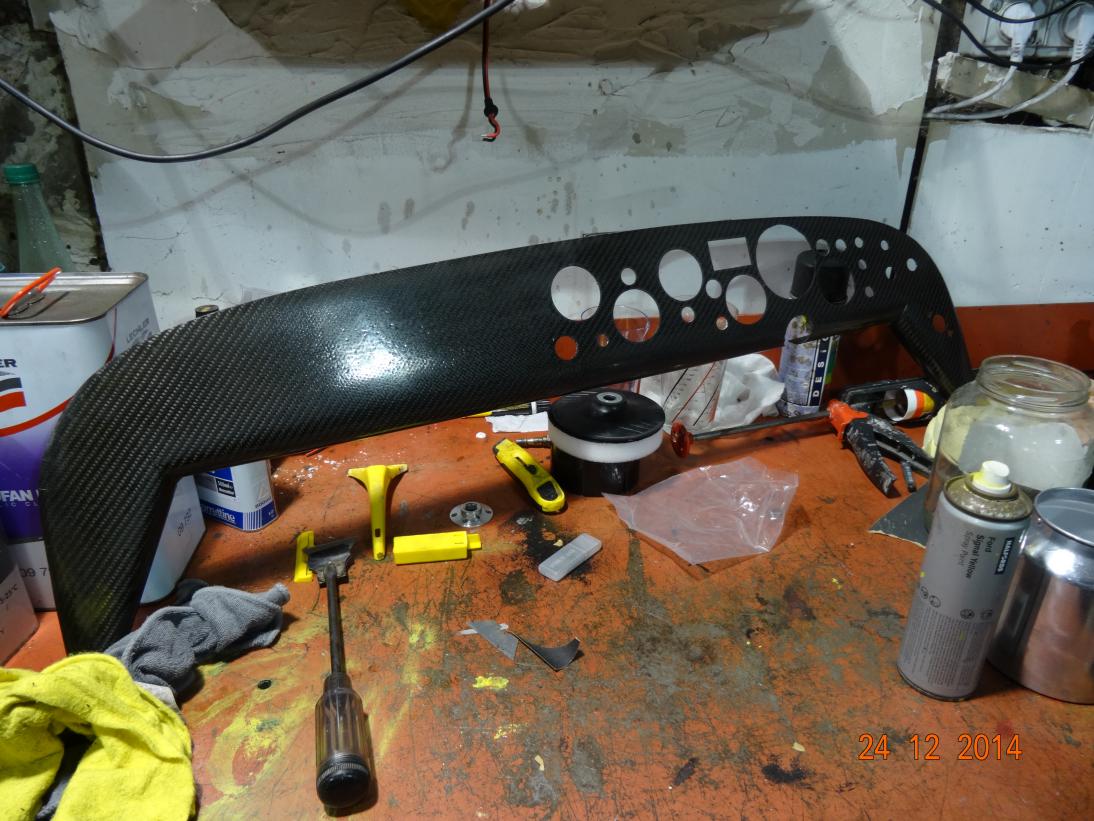
The dash. It has a lot of "orange peel" in it so I'll rub this down again and respray.
.jpeg)
.jpeg)
Two pictures of the rear wings after I'd scrapped and rubbed the matt black paint off. I will rub down the black edges and the wings some more after Christmas. Then spray with the clear lacquer.
.jpeg)
The nose cone. I've sprayed over the number plate but masked the little Lotus badge.
Whilst I've been doing this I've fitted a 1/2" bore master cylinder for the clutch, a new clutch centrifugal slave cylinder, a GPS speedo which is about the same size as the original SPA digital speedo. I had 4 SPA units, 2 under warranty and one was exchange at ?60. This last one stopped working after the accident in 2006 so I've been using a cycle speedo since then. OK in daylight but not at night as they aren't lit. I'll take pictures of the new speedo when the dash is back in.
But, in the meantime this is my latest attempt to get it fit the dash. Problem is the speedo has no edge on the front so will fall through the dash.
.jpeg)
This is the aperture the speedo goes in.

That's it, no thread on the back and no edging around the front panel.
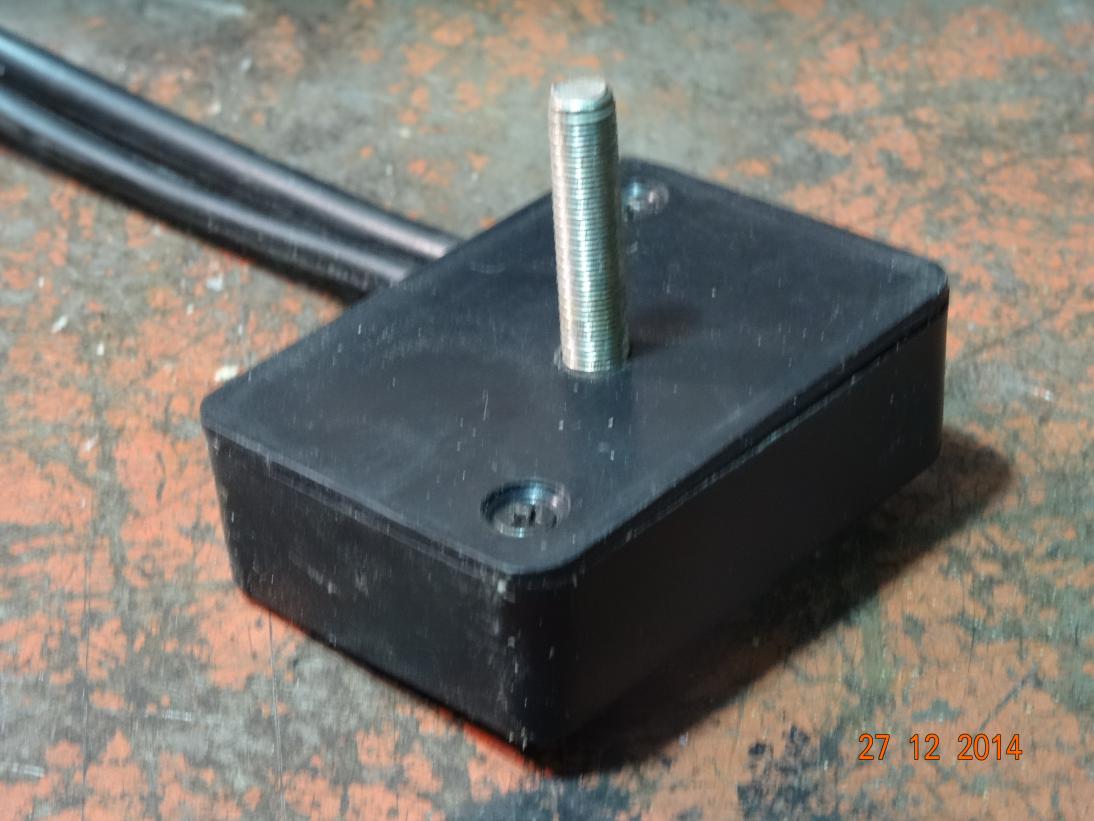
So I removed the back panel drilled and countersunk it and fitted a screw.
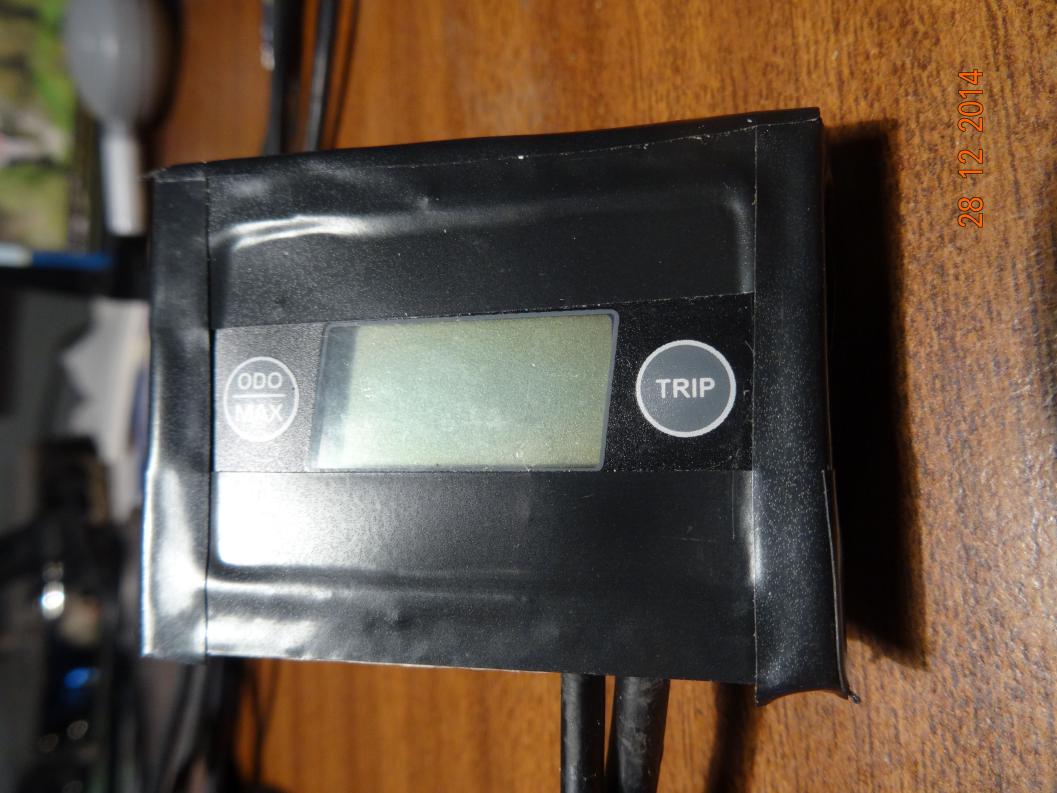
I've stuck some matchsticks on the edges to make a lip and covered it in black insulating tape. The finished product looks better than the picture as I've got the side stuck down properly.
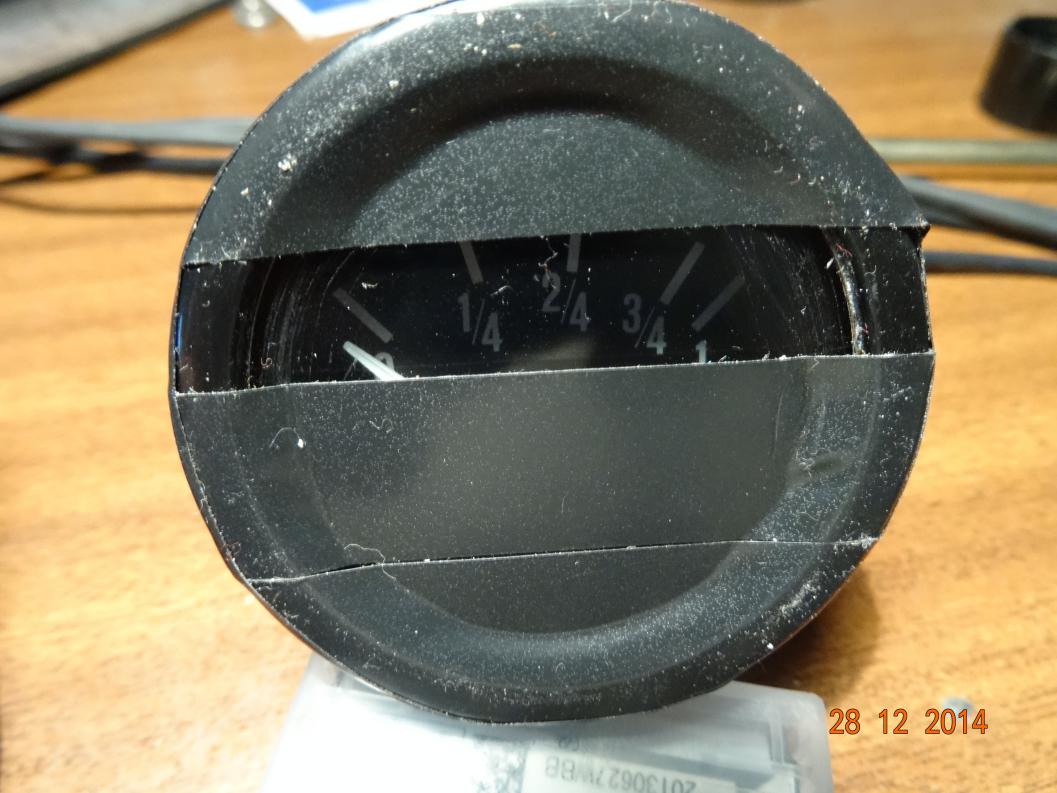
The fuel gauge is the only original gauge left. It had a rusty bezel and has scratches around the edges of the lens. Now, what does this remind you of?
OK, OK, don't shout all at once, I know they're CRAP. So here's what Norm did next.
.jpeg)
Neat carbon edged surround.
.jpeg)
With a screw fitted on the back
.jpeg)
And fitted to the dash. The white "powder" will clean off, it's carbon dust from rubbing down with wet and dry. When this is sprayed with clear lacquer it will look much better, the inside edges won't show. It is slightly tilted to minimise reflections.
And I've taken the tape off the fuel gauge. It will get a further coat of black paint and more rubbing down to get it smooth and I'll just have to put up with the scratched glass.
I've continued the story of the refurbishment on "Bit of Daft" HERE